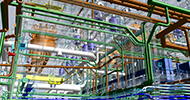
Reverse engineering involves converting a physical object into a 3D virtual model. While traditional engineering begins with a virtual design in CAD and ends with a physical object, reverse engineering starts with the object and concludes with its design dimensions and shape, which can then be used to recreate or improve the end product.
At most manufacturing sites, quality control processes and reverse engineering techniques are closely linked. To begin, the organization’s quality inspection routine tends to be directly tied to the outcome of reverse engineering, to ensure that critical standards are met. In addition, an effective quality control process usually requires reverse engineering techniques, as they can be used to achieve a number of important quality objectives, including:
- Recreating or inspecting a complex surface profile with little to no CAD data
- Replacing or improving parts to continually meet quality standards
- Machining cast parts in an efficient way
Integrating quality control and reverse engineering tends to resultin financial and operational benefits for the entire organization. By ensuring a more successful and effective quality control process, reverse engineering has the ability to minimize costs, drive efficiencies and boost profitability.
How to select the right tools for reverse engineering
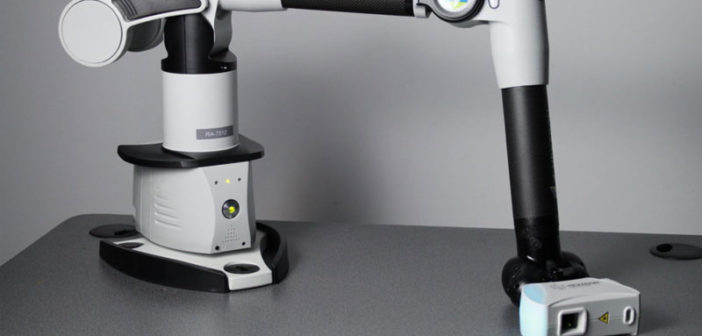
When incorporating reverse engineering into their existing quality control processes, it’s important for organizations to have access to the right equipment. First, you’ll require a tool that can efficiently measure a variety of complex parts. In most cases, this will be a portable coordinate measuring machine (PCMM) or scanner that can measure and capture 3D features and surfaces as point clouds.
From there, reverse engineering software will be necessary for a number of subsequent applications. For example, the software can connect the dots of the point cloud and create watertight mesh and STL models that can be used for surfacing and 3D printing. In addition, it can convert the mesh file into 3D surfaces and solid models, so that the data can be worked with as a 3D CAD model. And finally, the software can export the file to popular CAD formats for manufacturing, assembly and automated quality inspection.


