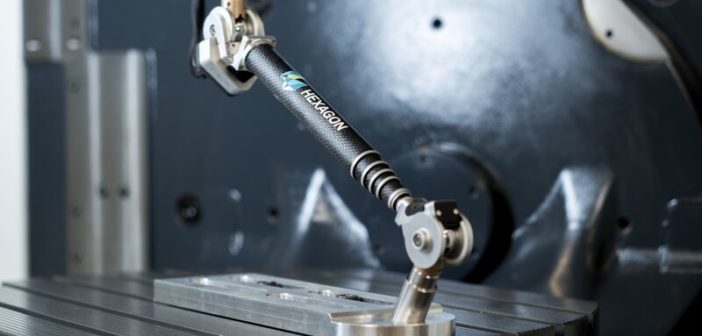
Machine tooling companies invest heavily in inspecting the quality of machined parts. But one of the biggest factors affecting the accuracy of the machining process is the basic geometric accuracy of the machine tool itself.
As a rule, new machines are extensively tested prior to delivery and individual deviations are compensated for using correction values in the control system. The real challenge is what happens once the machine is in daily use on the shop floor.
Maintaining the geometric accuracy of a machine tool to the levels required by DIN or ISO standards is traditionally time-consuming and complex, and traditional inspection methods can deliver sub-optimal results.
That’s because the inspection methods commonly used to determine machine tool accuracy require technically skilled engineers to take a range of measurements using specialised equipment. And despite high levels of human expertise, the inspections can produce flawed results. For example, it has become clear that the usual method of performing an inspection exclusively along the travelling axes is not enough to ensure maximum precision in the overall workspace, particularly in a 5-axis operation.
Sub-micron accuracy
What manufacturers and machine tool service providers need is a way to quickly, simply and accurately capture a full, detailed picture of any deviation that has occurred within the machine tool. The new Etalon X-AX LASERBAR fulfils this need, replacing multiple measuring devices with a semi-automatic, easy-to-use system that rapidly delivers results in the sub-micron range. Not only does its laser interferometer deliver a complete geometric fingerprint of a machine in a very short space of time, its system can also transmit compensation data directly to the controller.
Among the information the Etalon X-AX LASERBAR captures is the effect of static influences. Even the installation of a machine after its transport from the factory can permanently alter the geometry, affecting not only the individual axes but the entire machining area. The same is true when machines are moved within a plant.
The effects of recurring unilateral loads on the worktable can have as much impact as repeatedly travelled axis paths, or processing forces frequently occurring at the same point. And undetected collisions usually produce dimensional and angular deviations. In addition, there are thermo-elastic deformations that result from a mix of daily use and seasonal weather variations, all of which the X-AX LASERBAR can determine.
Using a patented process, the laser interferometer precisely detects all positions and paths of the machine over the entire machining area volume. The Etalon X-AX LASERBAR’s interferometer is so accurate that the values are recorded and logged in the sub-micron range.
As a result, machine tool manufacturers are showing a great deal of interest in X-AX LASERBAR’s volumetric compensation technology and are already integrating procedures into their processes.


