Twenty years ago, I was involved in training users to learn 3D solid modelling. My clients often complained that though they thought the software seemed capable and the training was good, their users were unable to model existing parts even if they could hold them in their hands. I thought long and hard before I realised that modelling would be easy if only the users knew the dimensions of the parts and were able to input them into CAD. Thus, started my passion for 3D scanning and reverse engineering that I have pursued ever since.
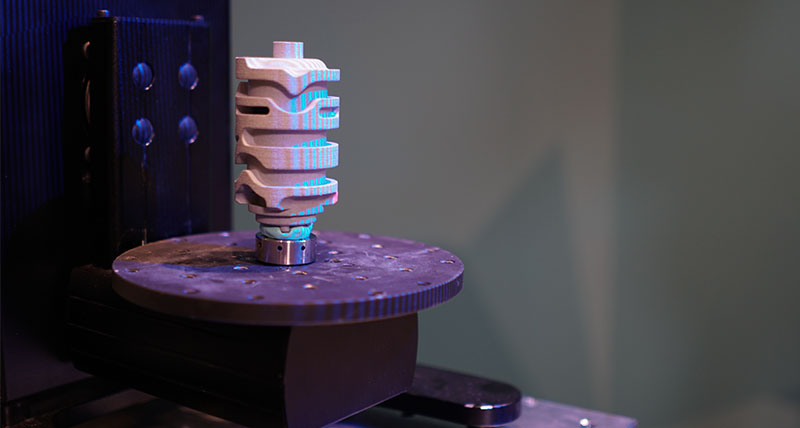 Watching carefully how the process of creating accurate models of existing parts worked, I identified where the problem was. The reason the models that the designers ended up with didn’t even look like the part they were trying to model was not because the CAD couldn’t handle the geometry or because the users were untrained, it was because they were getting incomplete dimensional data from the tools they were using to measure the part: typically callipers, micrometres and height gauges. If the part was something simple such as a shaft with cylindrical diameters or a square block with holes in it then that was easy enough, but as soon as there was any complexity such as surfaces that needed to be aerodynamic or styled – bad luck! The only way to recreate it was to basically design it all over again until it looked right. Not exactly what you would call ‘Reverse engineering’.
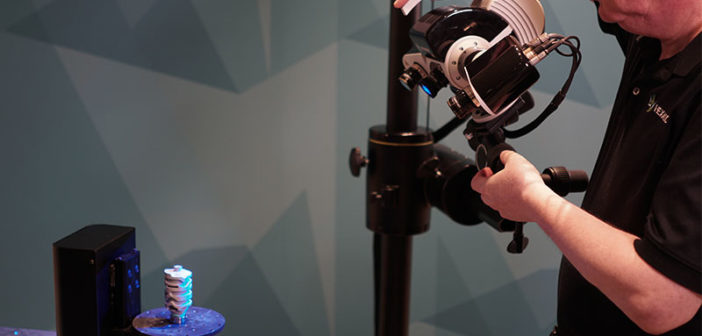
The breakthrough for me was the first time I saw a 3D optical scanner in 1997. It was one of those ‘eureka’ moments in life where suddenly I saw the solution to my problem. The inventors of the scanner were still wondering what it would be best used for but I had no doubts and bought one immediately!
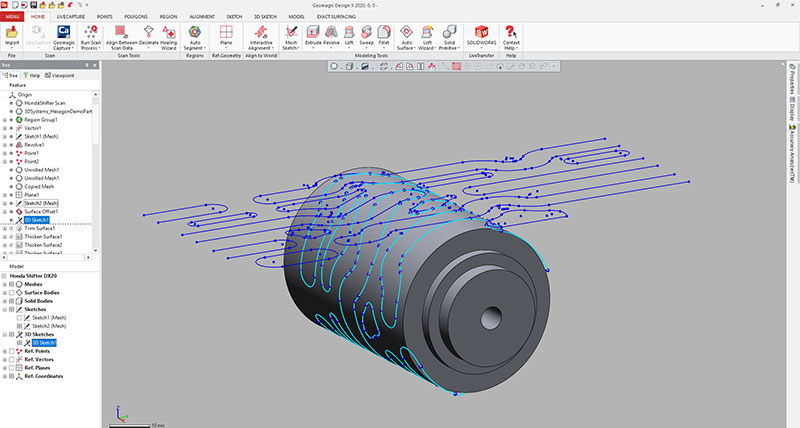
 Though I now had the means to capture the data I soon found out that I had only half solved my problem. Capturing the 3D scan data was one thing but getting from that scan data the dimensions needed in a useable form was another problem altogether. About a year later I came across Geomagic software from a startup company in North Carolina, USA that gave me a second revelation that unlocked a whole world of opportunity for rapid product development, preservation of legacy designs and many other applications. It would be untrue to say that, from the start, the path to rapid creation of high-quality CAD data was always easy. In the early days of this technology, impressive as the scanners appeared to be, there was much to be done in terms of improving the scan quality and the software used to merge big volumes of data for complex and large parts. This challenge has fuelled the passion for the developers of the AICON structured light scanners that have become the Hexagon optical 3D scanners of today.
After twenty years of continuous improvement, software in the field of reverse engineering has come an extremely long way and the combination of a specialised software package with the high-quality 3D optical scanners from Hexagon represent the best combination of tools available for rapid product development today. It can now be said that reverse engineering parts into CAD is easy. Problem solved.


