Parts made with additive manufacturing need to meet the same quality standards as all parts do, but their measurement presents unique challenges too. Hexagon has been nominated for a 3D Printing Industry award by more than 70,000 community members because of the important role we are playing in addressing the new quality issues of Additive Manufacturing and helping more businesses liberate this new technology for higher volume industrial production.
Achieving consistent and repeatable final part quality from additive manufacturing remains the goal in many industries because the processes involved are very different to traditional methods, but the same rules of quality need to be applied. There are as many or more areas of focus where technology needs to be applied to ensure those quality standards are met.
- Proper calibration of simulation software needs accurate as-built part measurement.
- Ensuring the dimensional integrity of the printer is fundamental to part quality.
- The build process needs to be continuously monitored for quality assurance.
- In AM, it’s not just the shape of the part that must be created as intended, but the constituent material.
The bottom line : If you can’t accurately measure a final part to the customer’s specifications, you can’t sell it.
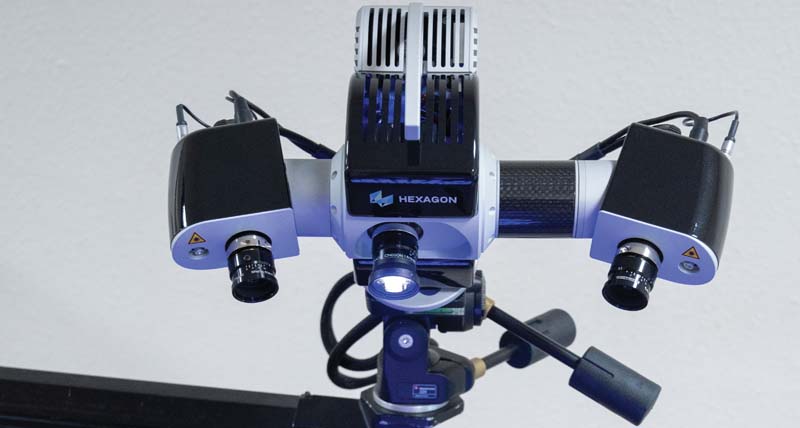
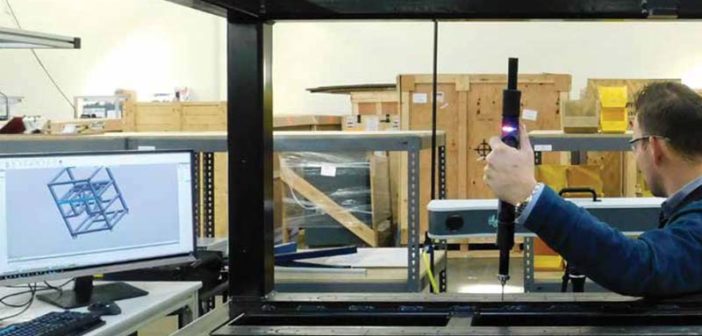
Hexagon optical scanners can accurately capture 3D printed parts
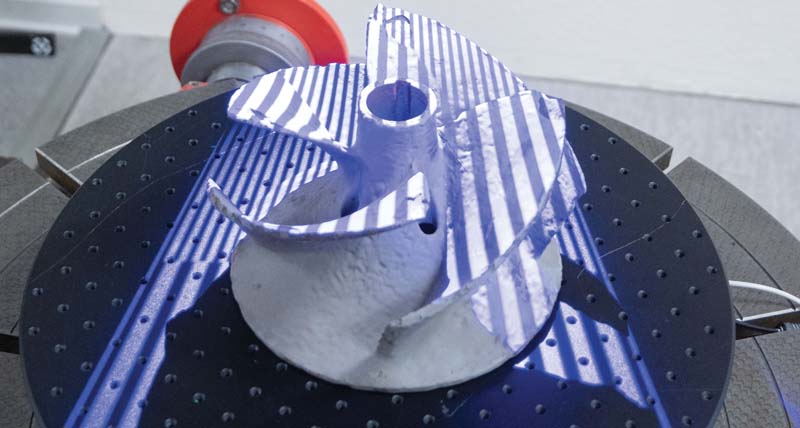
Complex geometries present no problems
The standards of dimensional and material quality that apply to traditional industries apply no less to AM, but the greater ability to create complex and optimised shapes, internal features and customization make adherence to those standards more challenging, not less so.
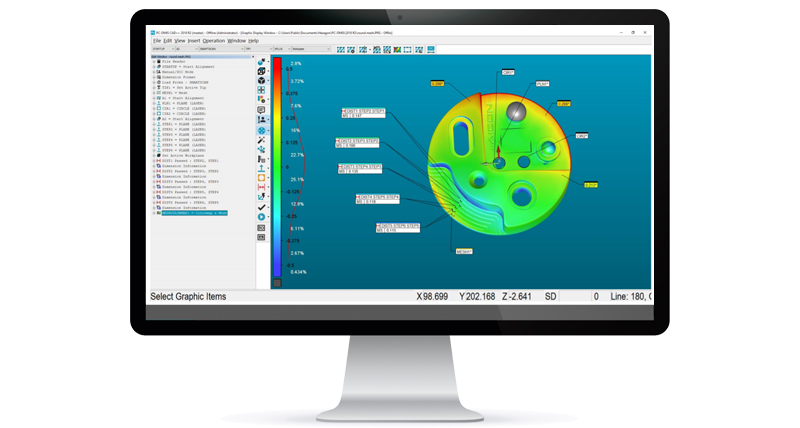
All these challenges can be addressed with technology that is already available from Hexagon; From Coordinate Measurement Machines (CMMs) with tactile probes or new optical sensors, to high-speed precision measurement of finished, machined parts through arm-mounted, hand-held or in-line laser and structured light scanners that capture whole surfaces and 3D geometries. Having such a wide range of available tools is important, as different sizes of parts as well as the applications they address can dictate the use of multiple devices.
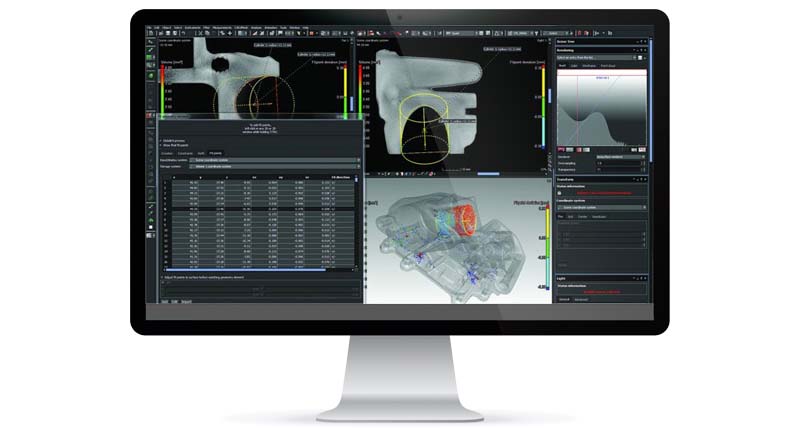
CT scan analysis is valuable for identifying 3D printing defects originating from powder to print defects that could weaken the part
The right hardware for the measuring task also needs to be combined with the appropriate software to enable continuous quality assurance throughout the manufacturing process chain. It must allow for an integrated digital workflow, enabling feedback loops that control and manage the process in with rapid or realtime correction. Here, Hexagon’s diverse range of standard-setting software such as VGStudio Max CT scan analysis, PC-DMIS and Inspire metrology programming and data acquisition, Q-DAS, eMMA metrology data management and statistical process control and REcreate for easier reverse engineering.
We’re helping 3D printer OEMs and manufacturers lead industrial adoption and realise the promise and “print ideas” and not nightmares by putting metrology data to work.
