A car’s performance quality reveals itself over the longer haul, but many customers will judge it at first glance in the showroom.
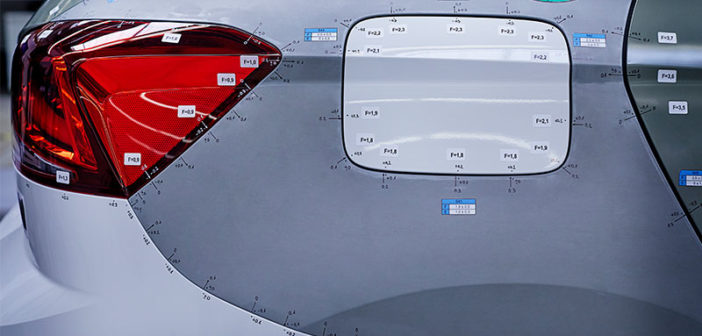
The look, touch and feel of a car, or its perceived quality, play a huge role in any buying decision. A vehicle not only has to function perfectly, its surface quality, interior fit and finish, and its flush and gap measurements all need to be faultless.
Measurement is central to delivering perceived quality excellence. A video by SEAT of its technical measuring centre at its headquarters in Martorell, outside Barcelona, illustrates what it takes to acquire the perfect finish on a car.
Part of the Volkswagen group, SEAT builds 440 000 cars annually at its Martorell site, including its popular Arona and Ibiza ranges and the Audi A1. Hexagon Manufacturing Intelligence’s wide range of measurement tools mean SEAT’s quality teams always have the best instrument for the job, whether they are working with a dark surface or a shiny or transparent one, or controlling an area that is hard to reach on the car exterior or interior areas.
The Absolute Arm, Leica Absolute Tracker and Leica T-Scan, white light scanner systems and the NEXTSENSE CALIPRI C14 flush and gap 2D profile scanning tool are among the 3D probing and scanning technologies used by SEAT to capture data from components, serial produced parts, sub-assemblies and prototype vehicles.
This dimensional quality data feeds into software tools on the shop floor and across SEAT’s analysis team, including Hexagon’s PC-DMIS, CoreView, 3DReshaper and Q-DAS statistical process control (SPC) software, to fully qualify the dimensional fit and finish of the exterior and interior of the vehicle and quickly recommend any corrective action that needs to be taken. And because SEAT is using Hexagon’s systems to capture data digitally it can share it both internally and with suppliers to further improve processes and product quality.
With thanks to SEAT for supplying the video and for their support.


