Rapid prototyping involves creating a working model of a part or product using 3D printing processes. The model allows manufacturers to test for fit, functionality, performance, design and efficiency before committing to a large production run. Using this method of evaluation, companies can identify issues and get their product to market as quickly as possible, ultimately edging out the competition.
In addition to the speed associated with rapid prototyping, there are a number of other benefits to this process. For starters, it’s a relatively inexpensive process that allows companies to easily produce parts that feature complex geometries. In addition, working with a physical 3D model lets companies review design options and make changes without the costs, time, and special tools that are usually required to develop different molds and patterns. And finally, the materials used for rapid prototyping closely resemble those of the actual product, ensuring a precise model that allows for physical tests very early on in the production process. Due to these benefits, rapid prototyping has been adopted by countless industries, including food, automotive, and medical manufacturers and technical companies, among others.
Now that you know what rapid prototyping is and why it’s beneficial, here are the three basic steps involved in the process:
1. Identify testing goals. Before creating a prototype, identify two or three characteristics to test. For example, form, features, performance, and/or usability. Keep the scope narrow and don’t evaluate too many elements at once to avoid clouding the result.
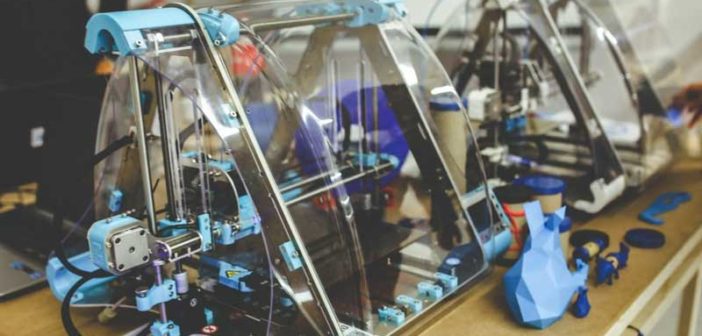
2. Design the prototype. Develop and implement the prototype, always staying laser focused on the elements you want to test and making sure that the design will reveal the information you need. The process of creating the actual model using a 3D printer is fairly straightforward. The machine lays down a layer of plaster powder according to the design and the inkjet head sprays tiny drops of water where needed to solidify the object.
3. Evaluate the process. Once you’ve completed the prototype and tested it for appropriate targets, revisit the goals you set at the onset of the process and determine whether or not the project was successful. Summarize what was learned and identify improvements that can be made the next time around.


