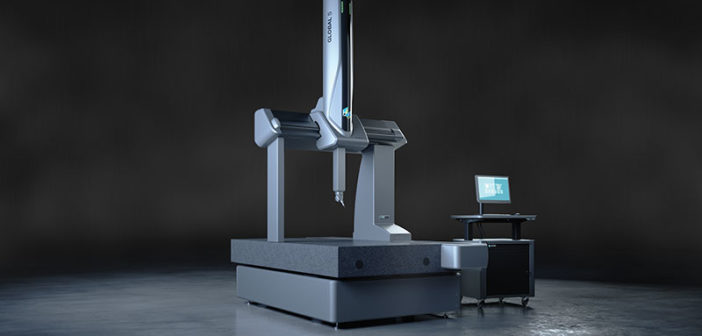
Coordinate measuring machines, known as CMMs, provide precise dimensional inspection of manufactured parts. These machines are an integral part of the manufacturing process in a wide variety of industries. As CMM technology has evolved, manufacturers have come to demand CMMs that are accurate, reliable, and fast. They must also be economical and flexible to operate in industrial environments. It’s a lot to ask, but industry-leading CMM manufacturers deliver. To do so,CMM manufacturers make careful design decisions, choose innovative materials, and always strive to use new techniques as they build the CMMs of today and tomorrow.
CMMs are available in a variety of performance levels. With all of these options available, it can quickly become overwhelming to decide on the right CMM to meet measurement and application requirements.
This comprehensive guide will help you determine which CMM will meet your business requirements and provide optimal performance. Here are five key criteria to consider when searching for a CMM.
1. Start by considering the ideal CMM size
Before taking any other factors into consideration, the first criteria to identify is the exact sizing you will need for your CMM. When purchasing the right CMM size, you need to consider the part sizes and number of parts being measured as well as the manufacturing footprint or room limitations. Think about where your CMM will be located, how much room is available there, and the size of your largest part, or if you are measuring groups of parts at the same time. It is also a good exercise to examine whether your part size will increase in the next 5-10 years.
Creating a cheat sheet for various CMMs’ measurement volumes and overall system dimensions will help you compare alternatives.
2. Be precise about measurement requirements
If you require highly-accurate measurements, it is important to select a CMM that meets your requirements using a 4 to 1 or 10 to 1 rule. Industry practice is to select a measurement device 4 to 10 times more precise than the most challenging part tolerance. There are other factors to consider, including type of geometric features, manufacturing process creating the feature, design phase, etc. where a qualified application engineer can help to refine your choice.
Some elements of the CMM to consider include:
- Machine structure: Moving bridge, fixed bridge, gantry and cantilever CMM structures can impact CMM precision; typically, higher stiffness gives better performance.
- Fixed probe head versus indexing: A fixed probe head is typically more precise, however today’s indexing wrist and probe combinations often provide acceptable precision and added flexibility.
- Scanning versus touch-trigger probing: Scanning probes collect large amounts of data faster. With more data, measurement uncertainty is decreased and the repeatability of the measuring process is increased.
3. Are you measuring parts with multiple feature characteristics or material types?
For parts that have multiple feature characteristics, it is important to have an all-in-one solution that can adapt to your specific feature requirements. When searching for a CMM, look for a system that can change from tactile to non-contact probing to adjust for a wide range of features and material types.
To increase measurement throughput, a probe or styli rack saves time between inspection of a part with different feature types. Hexagon probe changer racks perform fast and repeatable exchanges of probes, extensions and probe modules on CMM probe heads or HP-TM touch-trigger probes.
4. Take environment into consideration
Will you be placing your CMM on the production floor? In these environments, dust, dirt, and oils can impact measurement results. If you need to place a CMM on the shop floor, it is a good idea to opt for a more rugged system that is highly reliable.
5. Evaluate the performance of the machine
Overall CMM measurement performance is critical to manufacturing productivity. In the case of CMM performance, one size does not fit all. Assessing performance is truly a combination of the right technologies to best suit your specific application requirements. Selecting the right measurement capacity, system throughput, precision and sensor combination will ensure the best outcome.
If you’re considering upgrading your CMM rather than replacing it, read our dedicated guide here.
For further guidance on CMM procurement, this guide explores the questions you should ask yourself when budgeting for a CMM.
We work with manufacturers to provide them with smart solutions that enable them to become more efficient. The combination of our hardware and software solutions use data to connect departments, embed continuous learning into all stages of the production process, and place intelligent quality at the heart of the product lifecycle. Learn more by visiting our coordinate measuring machine page.


